

Even a hippo questions the way I spend my time.
Gather supplies:
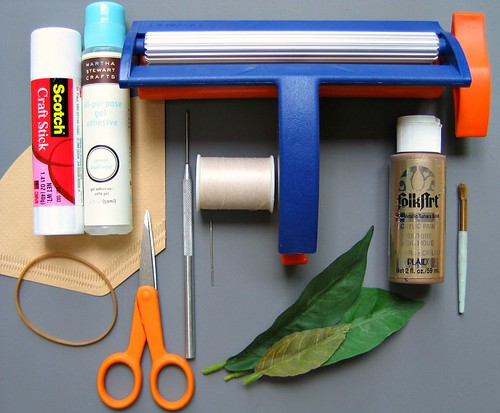
7 unbleached coffee filters
Thread
Sewing needle
Paper crimper
Craft glue
Glue stick
Paper piercing tool or round toothpick
Scissors
3 silk leaves - varied sizes
Gold acrylic paint
Small paint brush
Rubber band or masking tape
Non-stick work surface
Recommended quilling and paper craft supplies can be found in my Amazon shop.
1. Run six of the filters several times through the crimper. Turning each filter in different directions helps soften the paper and adds texture.
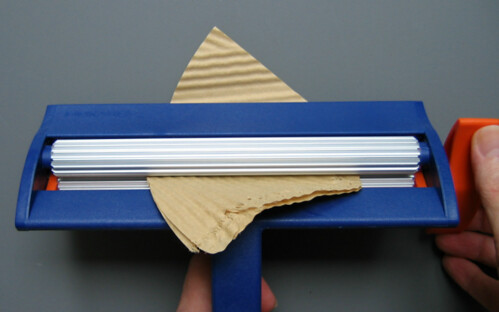
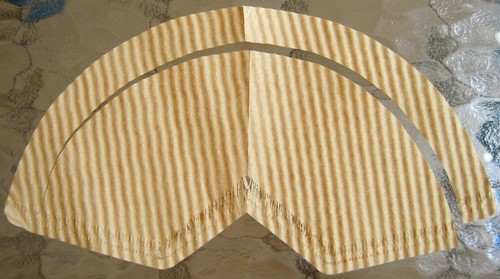
2. Separate the two layers of the filters by gently pulling them apart so they are fully opened. For some surprising/unknown reason, crimping first helped the layers to separate more easily.
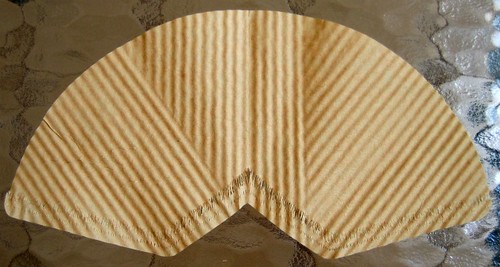
3. Thread a needle with about 20 inches of regular sewing thread. Knot the end and sew a running stitch across the bottom (shorter) side of one opened filter. When the end of the filter is reached, connect a second filter and then a third. The stitches will begin to gather on their own.
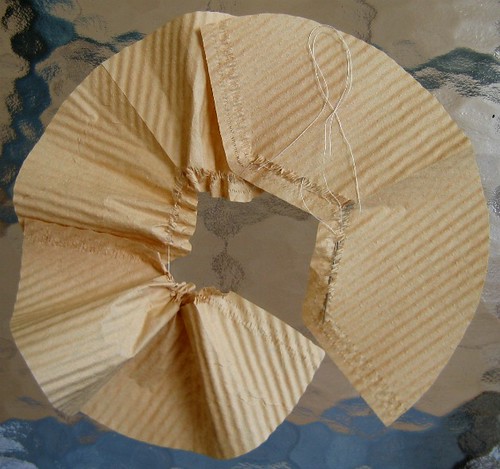
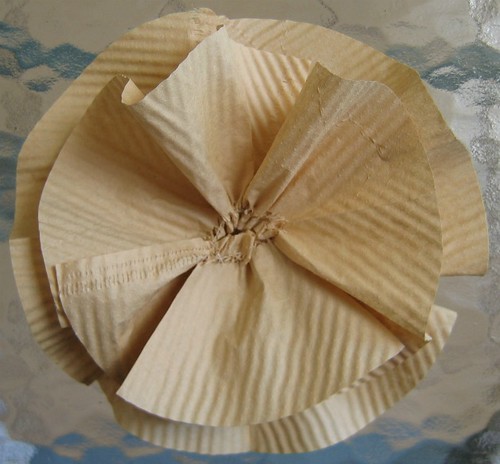
4. When all three filters are stitched together, gently pull the thread until they are gathered as snugly as possible. Knot the end by stitching through the first stitch of the first filter several times. This will be the bottom layer of the flower.
5. Trim one half inch from the outermost curved edge of another three crimped filters and repeat steps 2-4 to create the top layer.
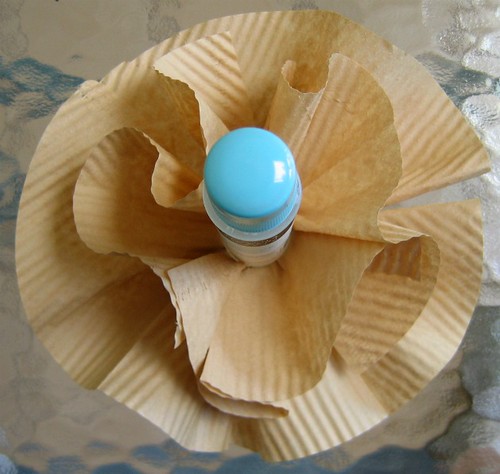
6. Working on a non-stick surface: apply a generous dab of craft glue to the center of the bottom layer and center the top layer on the glue. Apply a weight (I used my glue tube) to the flower center while the glue dries.
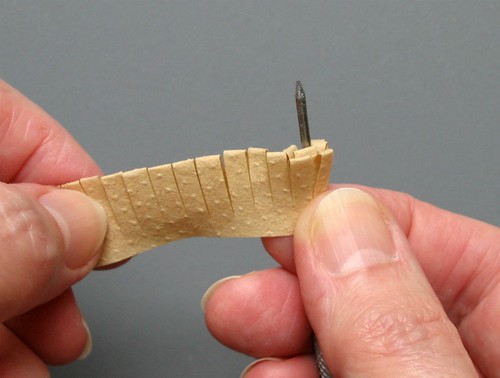
7. Fringed center: cut apart the seventh filter to make several strips that are about 1 inch wide and as long as possible. Use a glue stick to connect them end-to-end. Fold the strip in half lengthwise (it will be about 8 inches long) and make even, vertical cuts 1/8 inch or less along the entire length, cutting toward the open edge. Snip carefully so as to not cut all the way across, but if that happens, it's fine to glue the two pieces back together.

8. Snugly roll the still-folded strip around the tip of a paper piercing tool or a toothpick. Glue the end, slide it off the tool, and fluff out the fringe.
9. Peel the gathered flower from the non-stick surface after the glue has dried and pinch the center from the underside. Wrap a rubber band or a piece of masking tape a few times around this pinched area to give more fullness to the flower.
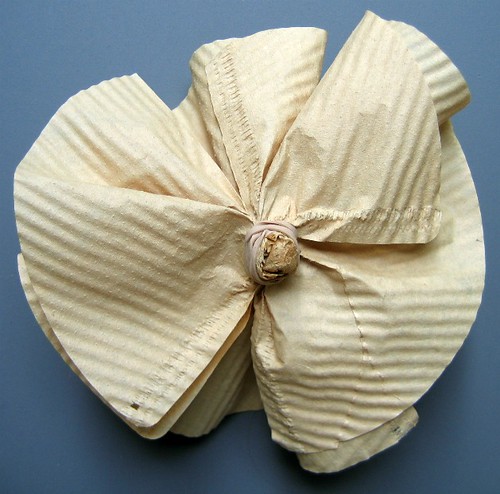
10. Turn the flower right side up and glue the fringed center in the middle of the ruffles.
11. Paint the top surface of each leaf with a light coat of paint allowing some of the green to show through - this gives a verdigris effect. Glue the leaves in a cluster to the underside of the flower.
All done! It's quite large, about seven inches in diameter, but could easily be made much smaller to wear in your hair.

I hope you'll give the flower a try, but if you'd like to make more traditional coffee filter flowers, I highly recommend the realistic beauties found here.


