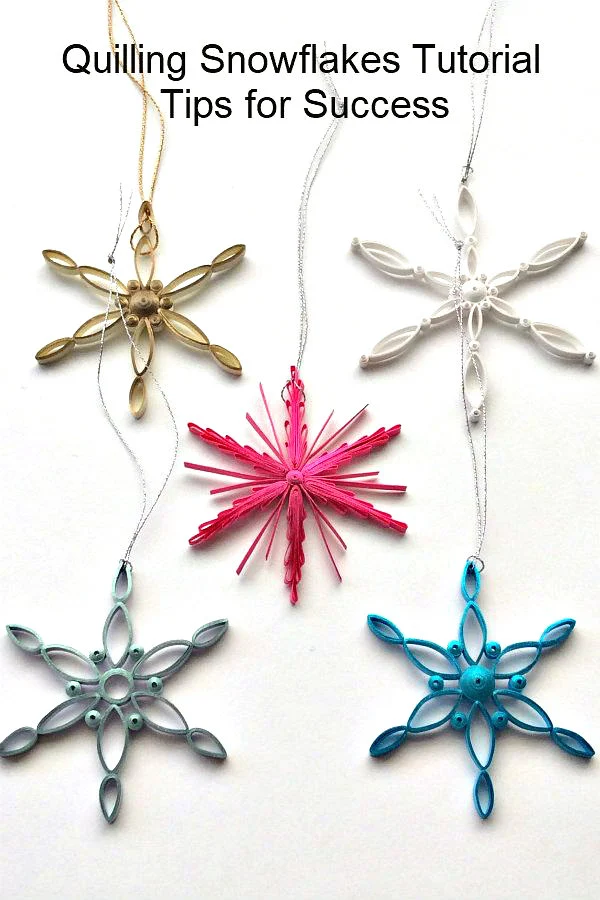
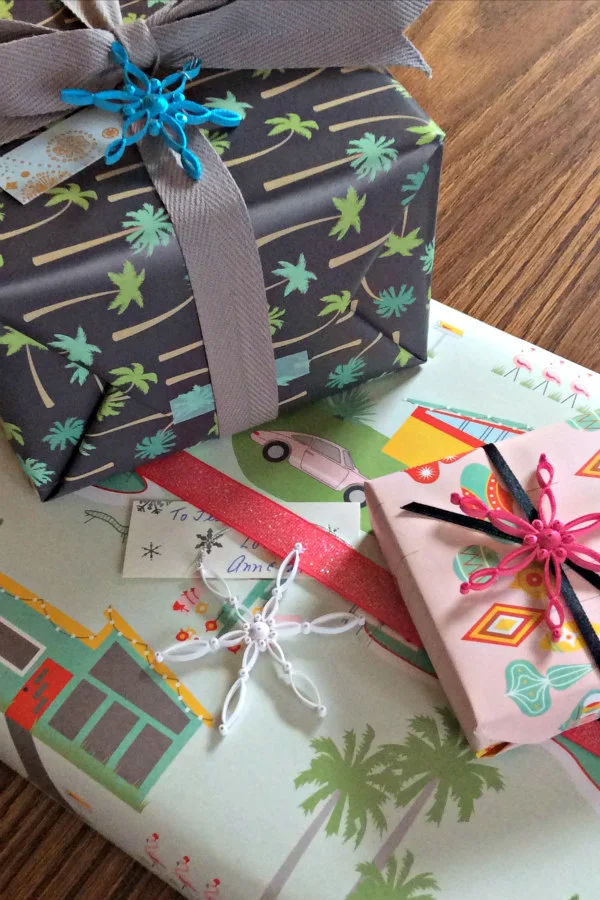
Just like Britney Spears, oops, I did it again... took on an addictive paper craft project right before Christmas. I seem to do this every year for some reason, feeding into the frenzy of the holidays. Because making just one quilled snowflake ornament was not enough, I went on to create a mini-blizzard to use as present toppers. A little gift on a gift.
It's late in the decorating season to be posting a tree ornament tutorial, so I'm going to suggest you make quilled snowflakes as a winter project instead. Hang them in your windows to taunt Mother Nature, "My flakes are bigger and flashier than
yours!" Quilling with such brightly colored strips is bound to bring cheer on dark days.
You can make several ornaments from just one package of single color strips (or more, if you practice/perfect your technique using printer paper strips first).
Quilled Creations also has a very nice assortment of metallic edge quilling strips.
I made the golden snowflake with gold-edge ivory strips called Touch of Gold from Lake City Craft Co. The company has been sold and still lists A Touch of strips on its website, however, I haven't had a chance to use them to know if they are the same quality as the original Lake City strips.
For the purists in the crowd, I also made a white snowflake because, honestly, nothing stands out as beautifully on a green tree.
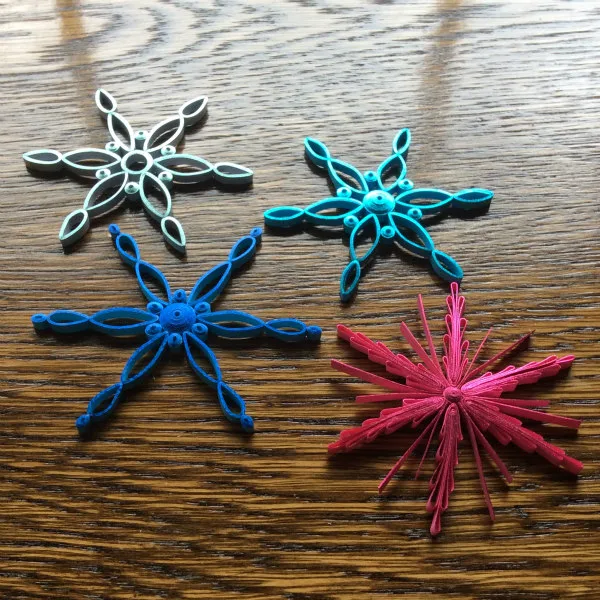
The hot pink loopy ornament (first and second images above) is very similar to the Ice Crystal Ornament I
designed for Helen Hiebert's Twelve Months of Paper Calendar in which you will find step-by-step directions for making it. The beauty of the Ice Crystal is that
no quilling tool is required. But this pink version differs in that it
has a domed tight coil for the center for which I used my Japanese slotted
tool that has a very fine slot (turquoise tool, far right in the photo below; more info about it here:
choosing a slotted tool).
Make these five modern paper snowflakes. They're alike, but different!
Supplies:
A very nice thing about quilling is that it doesn't require many supplies... you can get by with just paper strips, glue, scissors, tweezers, ruler, and a ball head pin - seriously! For these designs I used quilling tool handles as dowels for forming the coils (shown below), but you can substitute a pen, pencil, bamboo stick, etc. to serve as shaping tools.
Gluing:
My gluing method is simple... I pour a little puddle of clear gel
adhesive into a tin or plastic lid and use the tip of a
paper piercing tool (the silver one shown below) to apply glue to the end
of each coil and to adhere components together. A pin will work too, as will a fine tip glue bottle. Long handled tweezers come in handy when assembling quilling. (Supplies that I recommend can be found in my
Amazon shop.)
Making ring coils:
Rather than traditional, lacy quilling, I went for a contemporary look
by using ring coils to make the snowflakes. Note that the five examples differ from one another because their
ring and tight coil layouts vary. The ice crystal, on the other hand, is made with a quilling
method called alternate side looping.
For each ring coil, wrap a strip
five times around a tool handle, slide the coil off the
tool, pinch it once to create a teardrop or at opposite points for a marquise (eye) shape, and glue and trim the end.
Making tight coils: Roll a strip on a quilling tool all the way to the end. Apply glue to the end while the coil is still on the tool, hold it a moment for the glue to set, then slip
it off. To
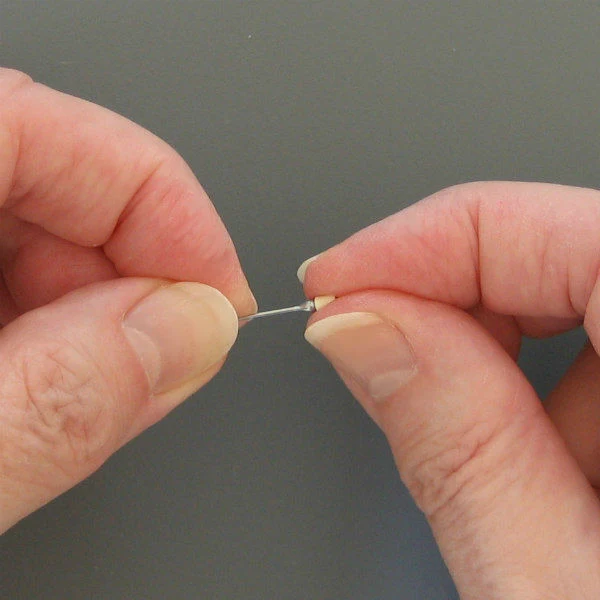
dome (is that a verb? it is now!) a tight coil, press against one flat side with the ball head of a pin as shown below and apply a small amount of glue
inside the dome with a pin or paper piercing tool to preserve the shape.
The small domed tight coils used as accents were made with 2.5 inch strips; the smallest ones, just 2
inches or even 1 3/8 inches. For
the bright blue snowflake, the domed tight coils were pinched into ovals.
All of the snowflakes have a domed tight coil center except for the ice blue one that has a ring coil center. The large domes were made with 9 to 11-inch strips and were shaped with the rounded end of a tool handle or a fingertip before applying glue inside the curve.
Assembly tips:
I often work on the polyurethaned table you see in these photos and use just enough glue so that the coils stick together, but not
to its surface. Working on an acrylic sheet or waxed paper is fine too. If you're a neatnik like me when assembling coils, hide a glued end
by butting it up against another coil, and use the tip of a paper piercing tool to round out the slotted tool crimp that is left behind in the center of a domed tight coil.
The snowflakes measure 2-2.5 inches in diameter, and the designs are simple enough that I
eyeballed the coils when assembling rather than use a grid. However, Cecelia Louie of Paper Zen has kindly made a
quilling snowflakes grid available that helps in achieving perfect symmetry. She also recently shared a video of the making of a
traditional quilled snowflake.
When the glue has set, turn over the completed snowflake
and use a pin to dab tiny dots of glue on each join as reinforcement.
Lastly, add a thin metallic hanging cord, looping it through the tip of an arm. Another idea is to attach a
metal jump ring before adding the loop... that way the recipient can thread a chain through the jump ring and wear the snowflake as a necklace instead.
No fixative is required since ornaments generally receive very
little handling. If you choose to wear one as a pendant, treat it
as you would any fine jewelry... last thing on, first thing off, and
store it in a safe, dry place.
I hope you'll spend many happy hours quilling snowflakes!
By the way, I'll be teaching how to
make modern snowflakes
at the Brandywine River Museum of Art
in southeastern Pennsylvania on November 13, 2019.


