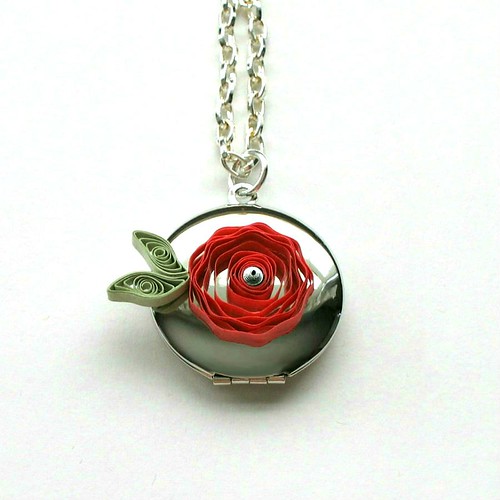
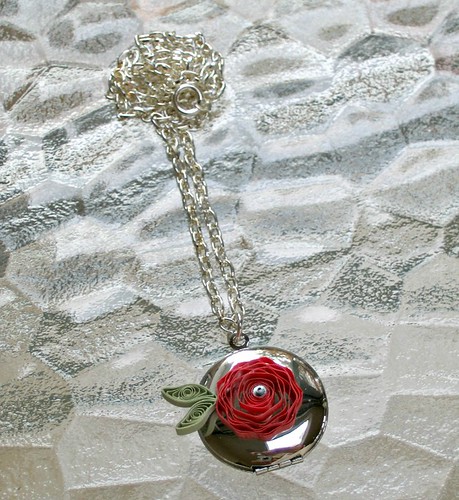
Perhaps you're on the lookout for handcrafted gift ideas that are something a bit different and don't involve a huge time investment or costly supplies. The projects in this series? Yes, on all counts.
First up, a crimped flower to decorate a necklace pendant... it's a good starter project if you've never quilled before.
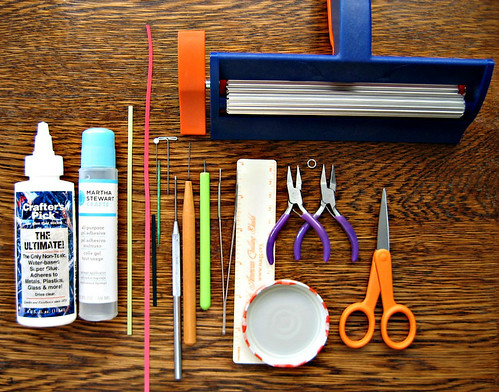
Supplies:
Quilling paper - watermelon pink, green, black or silver-edged black, 1/8 inch standard width strips OR cut your own light to medium weight paper using a craft knife, metal-edged ruler, and cutting mat
Quilling tool - slotted tool or needle tool OR substitute a stiff wire or even a muffin tester
Glue - I like Scotch Clear Glue for quilling and Crafter's Pick: The Ultimate or Aleene's Tacky Glue to adhere quilling to a slick surface
Crimper - mine is made by Fiskars and is much larger than needed. Quilling supply sites sell small ones
Scissors
Ruler
Tweezers - I like this kind with a precision tip
Paper piercing tool or cocktail stick - to apply glue
T-pin or glass head pin - to shape flower center
Non-stick surface - use as glue palette and work board. An acrylic sheet, waxed paper, or Styrofoam tray are fine too; I usually use a jar lid
Damp cloth - to keep fingers glue-free and to dampen fingertips when rolling quilling paper on a needle tool
Jewelry pliers - 2, mine are flat nose
Jump ring - silver
Locket - silver
Necklace chain - silver
Metallic silver gel pen - optional
Additional quilling and paper craft supplies can be found in my Amazon shop.
Instructions:
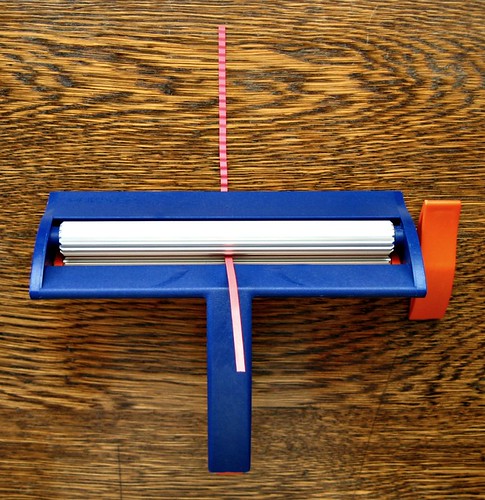
1. Crimp a 10-12 inch strip of pink quilling paper. If you use the Fiskar's crimper, gently squeeze the handle while turning the knob or you'll wind up with confetti. I know this to be true. :)
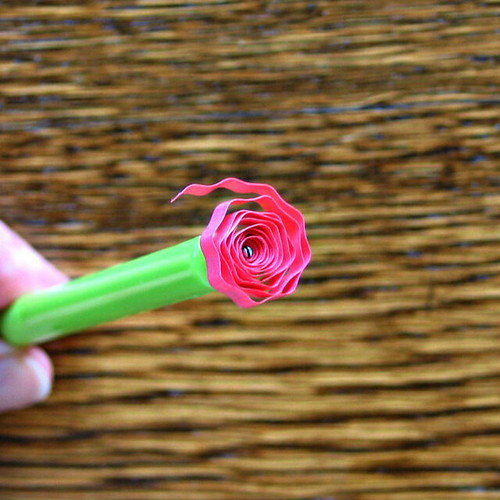
2. Insert one end of the crimped strip into the quilling tool slot and roll the strip by turning the tool with one hand and guiding the paper with the other. (Using a needle tool? Rotate the strip, not the tool.) Roll strip all the way to the end using a light touch as you want the strip to retain much of the crimping. Allow strip to relax and slip it off the tool. Glue the end in place. This is called a loose coil. Tip: if your strip has a torn end rather than a sharp cut, the paper will adhere more smoothly when glued.
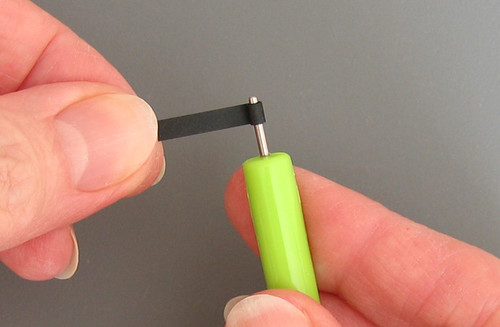
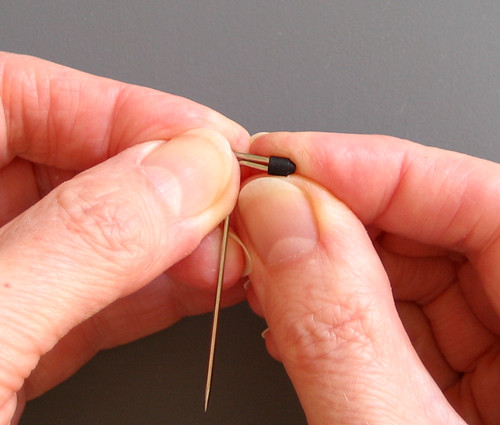
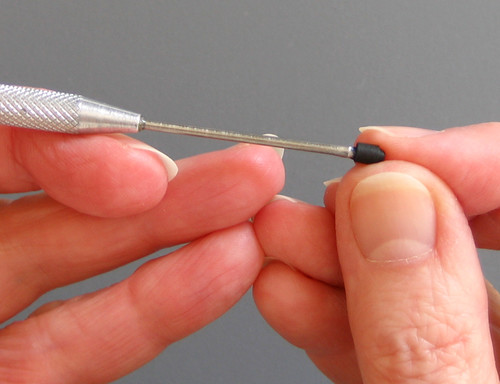
3. Roll a 2.5 inch strip of silver-edged black paper as the flower center (or use plain black quilling paper as shown here and color the top of the dome with a metallic silver gel pen). Glue torn end in place before slipping coil off the tool. This is called a tight coil.
Apply a small amount of glue inside the dome to preserve shape.
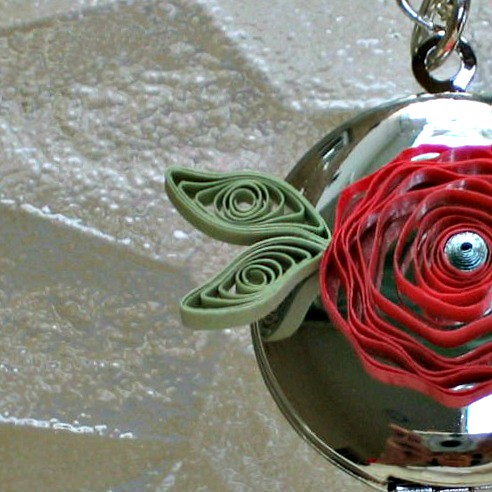
4. Apply a bit of glue to the domed tight coil's outer surface and place it on the work board, dome up. Position the crimped coil over the dome... you now have a flower with a center.
Nearly done, just the leaves to go!
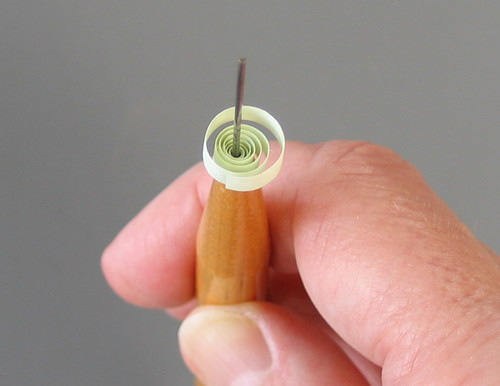
5. Make a pair of shaped marquises. First leaf: roll a 3 inch green strip, allow the coil to relax and slip it off the tool. (I used a needle tool for the leaves, but the slotted tool would be fine to use instead. I like that needle tool coils don't have the center crimp that the slotted tool produces.)
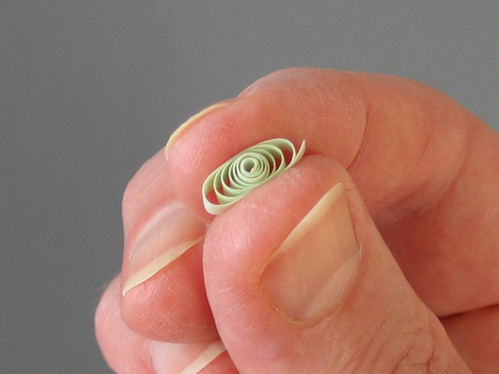
Compress this loose coil gently.
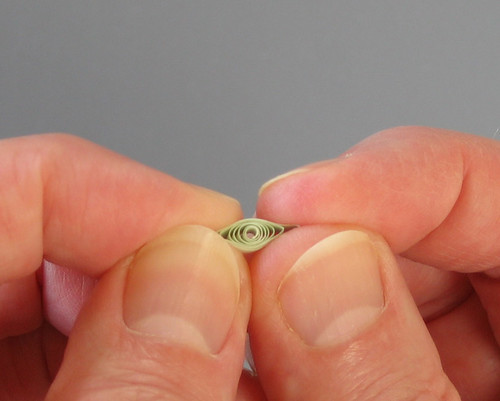
Then sharply pinch two opposite points.
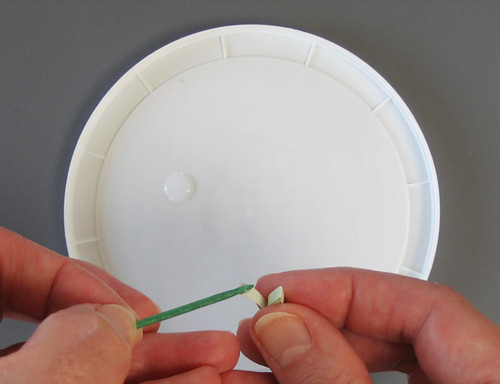
Glue and trim end. Hold the ends of the marquise between thumbs and index fingers and curve them gently, one end up and one end down to create a leafy shape.
Make the second leaf with a 4 inch strip.
7. Apply a thin coat of glue to the back of the flower with a fingertip or cocktail stick. Using tweezers, center the flower on the locket. It's best to not wiggle it into position as this will leave a snail trail of glue. Set locket aside to dry overnight... this is pretty important!
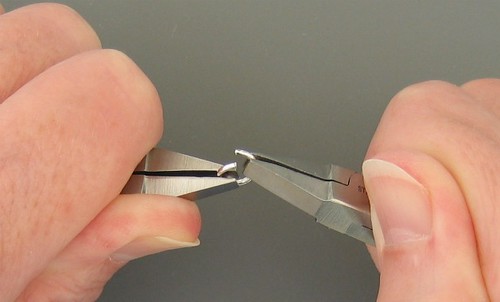
8. The following day: twist open the jump ring with pliers and slip it through the fixed locket ring. Close jump ring and thread onto necklace chain. It's ready to wear or give away; perhaps to a little girl on your holiday list.
Next week I'll show how to make another type of design on the larger locket pendant.
Two things:
I think the Crafts 'n things blog (edit: sadly no longer) is one of the internet's best kept crafty secrets... they have a dozen copies of three new craft books to give away, including All Things Paper, but only a couple of entries so far. Let's surprise them with a ton of traffic!
For the card and paper flower makers among us, All Free Papercrafts asked me to announce their brand new free eBook. It's a very nicely assembled collection of paper crafting projects gathered from around the web. You just might pick up some new techniques.
September 2017: You'll find many new quilled jewelry designs in my how-to book, The Art of Quilling Paper Jewelry.

