In the P.S. of my most recent newsletter I mentioned that I intended to make paper ornaments over the weekend for which I would use wrapping paper scraps. Well, typing it held me accountable and guess what? They turned out even prettier (and easier) than I expected!
Because theses wreaths go together quickly, there's still time for you to give them a go. Use gift wrap leftovers or do what Melanie of DIY Sperenzien on Instagram did for her wreath ornament tutorial - use pages from a discarded book. Out of date road maps and atlas pages would work well too.
Melanie's Instagram post was where I first saw how to fold the rectangles and fit them together to make a wreath. Her text description is in German (with a translation option), but just swiping through the photos and watching the quick video she provided are all that's needed to meet with success. I also found a YouTube video.
Once the rectangles were assembled, I slid a
bit of glue under the raw edge of each folded section on both sides of the
wreath to make sure it didn't come apart. To do this, I used the tip of a ball
head pin to pick up just a tiny dab of glue from a plastic lid. You could also use a clay modeling tool (the pointed silver tool in the photo below) instead of a pin.
The red and gold wrapping paper is from Tuttle Studio (via Amazon) and it is lovely... glossy, such a nice weight, and very easy to work with.
When folding each rectangle, I didn't make the creases really sharp on purpose... this resulted in slightly puffy wreaths to give them a bit of dimension. Another little tip for puffiness and to avoid wrinkles is when folding a rectangle in half, first curve it around the barrel of a pencil and then make a soft crease.
It's easy to adjust the size to go smaller or larger... for example, cut rectangles 1.5" x 3.5" instead of 2" x 4". When finished, I used a 1/8" punch to make a hole for the hanging cord.
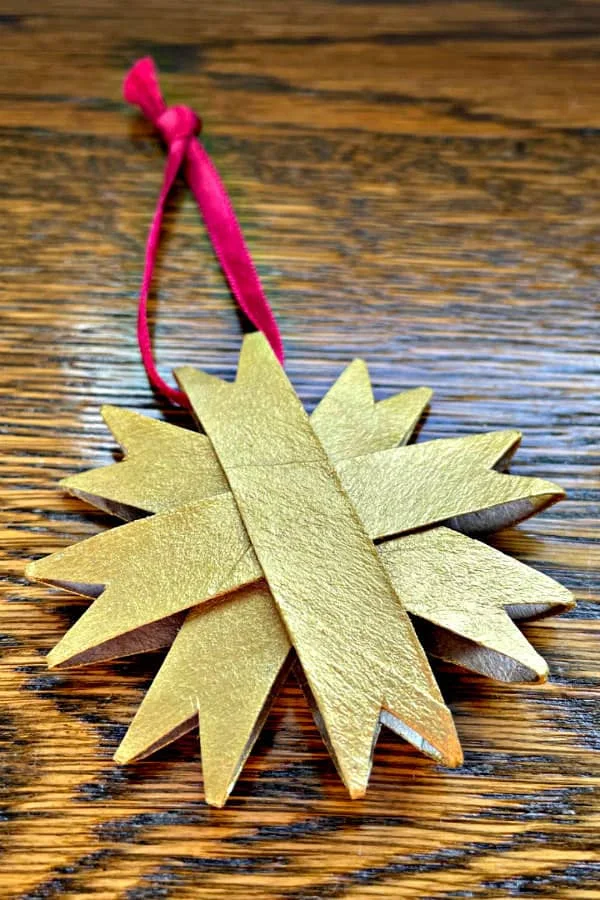
Heady with success after seeing how quickly the wreaths came together, I then made some cardboard toilet roll star ornaments. Dandy Instagram instructions were again provided by Melanie. Even easier than the wreaths, you just flatten a roll and cut 1/2" strips (Melanie used three, I used four). Snip a V shape into the ends of each strip and then stack and glue where they overlap, angling to create a balanced star. Here's a YouTube how-to video.
I gave my glued stars a quick coat of metallic gold acrylic paint on the outer surfaces and edges before adding a silky ribbon hanging loop. Even with the paint and bright ribbon, it's still a pretty rustic ornament... I'm going with pretty as the keyword. :)
So perhaps make yourself a batch and use them to fill any bare spots on the tree or tie one on as a little something extra on top of a wrapped present - a gift on a gift!
If you would like to sign up for my free newsletter that I send out every few weeks, enter your email address in the sidebar box. Rest assured it will not be used for anything other than sending you the newsletter.
Wishing you and yours happy holidays!


